Why I Geotag My Photos
Geotagged photos know where they were taken. If your camera doesn’t already do so, Bash and ExifTool is all you really need for that. Here’s how.
Now, Where was That Again…?!
Ever looked at a photo and all those emotions from way back when started coming back to life?!

You’re reliving the moment in your mind. Like if the photo was a mini-teleporter. You’re right back inside the photo. You feel the excitement. The joy. The sensation. The buzzing atmosphere. It’s all coming back! Those great memories. That great time back in…
Errrm… Right. Now, where was that again…?! I’m quite sure it looks like…. No, it can’t be. Google says the place looks nothing like my photo now. It’s no longer monochrome apparently. But if it’s not there — where on earth is it then..?!
If the above sounds familiar then you’re in good company. With photos being my personal mini-teleporters, I regularly had the above experience. Until I discovered geotagging.
Geotagging and EXIF Tags
Essentially, geotagging is
Storing the information of where each photo was taken right inside in the photo itself.
As hinted at in another article, I personally geotag all my photos. So, the question of “Now, where was that again..?!” turns into “I know! University of Greenwich!”.
Technically, the location information is stored in the designated EXIF tags of the corresponding photo. This way, the metadata of the photo is part of the photo.
Naturally, this comes with certain limitations, but EXIF tags generally allow to store various types of metadata and have numerous predefined fields ranging from aperture, shutter speed, and size of the photo all the way to location information.
Location Information Support
Most modern operating systems as well as photo apps have human readable support for EXIF tags built right into them.
This means that when when opening a geotagged photo in Preview on a Mac (and after indulging in it for long enough) it is fairly easy to get to the corresponding location information.
All you need to do is press Command ⌘ + i to access the “More Information” window. The tab “GPS” (only available if location information is actually present in the photo) should then reveal the human readable location on a map. More recent versions even come with a “Show in Maps” button which allows to open the location in Apple Maps. Now, that’s convenient!

Similar functionality is build into modern photo apps on mobile devices. At the time of writing, it was sufficient to swipe up on a photo displayed full screen in Google Photos to reveal the corresponding location on a map. One more tap took you straight to the location in Google Maps. Now, that’s location information support!
But the best part about geotagging is that it is now widely supported amongst modern phones out of the box when taking photos. Most manufacturers even enable it by default. And if you’ve accidentally disabled it, it’s one tap to turn it back on.
DSLRs and Geotagging
Mobile devices have advanced at a stellar pace and now take better photos than ever before. All I know is that whatever model I hold in my hands is already outdated.
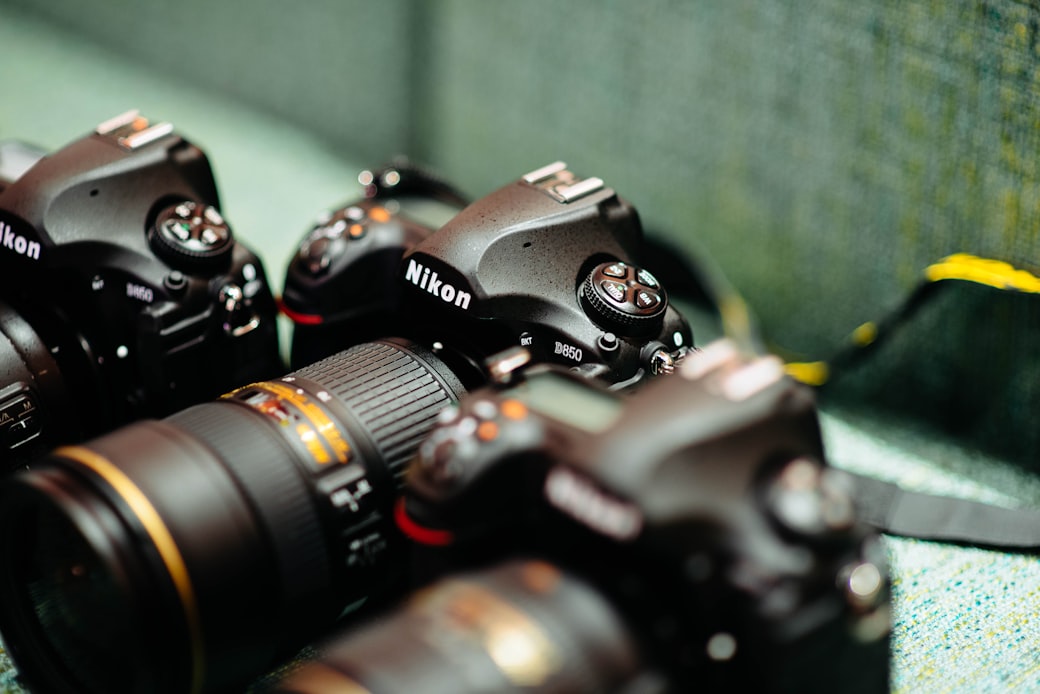
But even with all the advancements in sensors and algorithms, I personally prefer to drag along a DSLR for the really important shots. Sometimes you just can’t really beat physics. Thanks, Isaac!
Hot Shoe Devices, Flat Batteries, and Long Waits
Like most DSLRs, mine does not support geotagging out of the box. Sure, there’s the option of purchasing a not-so-cheap external GPS device that goes on the hot shoe of the camera.
But there’s a problem. A couple in fact. And it’s not that the camera now looks and feels clunky and has cables running around it. Trip hazard, anyone?!
A major problem is the power consumption. GPS devices tend to be quite heavy on batteries in general — and the GPS hot shoe device is no exception. As the device is drawing power from the main camera battery, so does the number of available shots on a single charge decrease. It’s back to a bag of batteries then. Pack loads.

However, the real dealbreaker for me was the time it can take to determine an accurate GPS location, sometimes also known as a GPS fix. Depending on the physical location and satellite availability it can sometimes take up to ten minutes or more to get a GPS fix.
Mobile phones tend to circumvent that problem by leveraging the built in communications chips, commonly known as Assisted-GPS (in short A-GPS). But there’s no SIM card inside my DSLR. Neither is there in the GPS hot shoe device. It’s back to waiting again then. Or leaving the GPS hot shoe device running while depleting the battery. Splendid.
Practically, this means that by the time my battery dies the GPS device finally found a fix and I could have taken that snap of the lion hunting its prey — if only they would have collectively agreed on postponing the action until my camera was ready and I’d have popped in a fresh battery.
Right. What are my other options?!
GPS Trackers and the Power of Telling Time
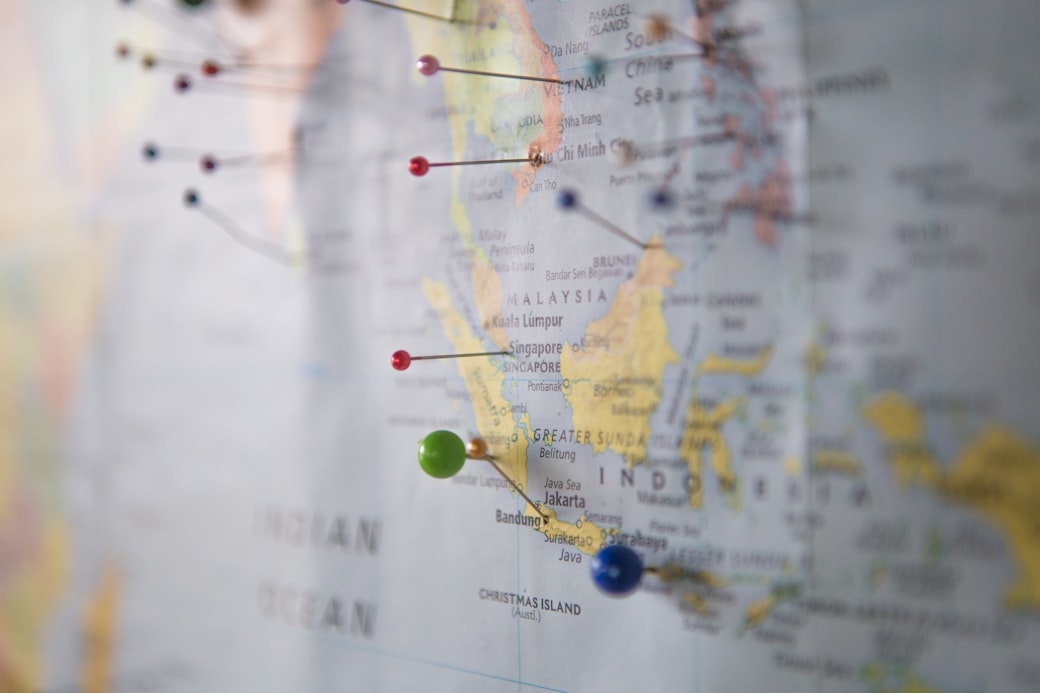
Another option is to go external when it comes to recording GPS information. Have a dedicated device with its own power source that is purpose built to record several hours of GPS location information in what’s commonly known as a GPS track.
I personally prefer to take a little GPS tracker with me for that very purpose. While it doesn’t really help me in the event of getting lost (the data is only stored on the internal memory with no processing unit attached to it) and it doesn’t really alleviate my concerns around privacy (I can imagine those GPS tracks being very useful to certain entities), it does help me geolocate my DSLR photos in the end.
![]()
Here, the basic idea is to use the timestamp of each photo to determine where I was at that moment in time according to the GPS track. The resulting location information is then stored inside the photo.
For that, I need to get the timestamps in the photos right. But then I’ve got quite some decades of experience telling the time. In fact, I can also set the time in a DSLR as well. Years of experience, you know…!
So, at this point in time, I have a collection of (hopefully) great photos with no idea where they were taken and a rather lengthy tally of where I was at which point in time (the GPS track).
Now, how to combine the two by time? How to get the location information from the GPS track into the photos? How to geotag them?
All You Really Need is Bash…
There are numerous tools out there that even have shiny graphical user interfaces that take a collection of photos and some GPS tracks only to return the geotagged photos. But a wise man once told me
All you really need is Bash!
And he was right. As most of the time.
![]()
Who needs shiny tools when you’re interested in glorious batch processing?! When you want to geotag 10,000 photos in one go. With a single command. Because you got carried away while being away. Trigger happy without anyone getting hurt. But without a clue where those great photos were taken ten years from now.
Bash is superbly suited for geotagging photos on an industrial scale. It’s one of the very few tools that have been with us from the early days of computing and are still heavily used. There are not that many tools that can claim this as far as I know. I’d personally be surprised if Bash wouldn’t be with us for quite some time.
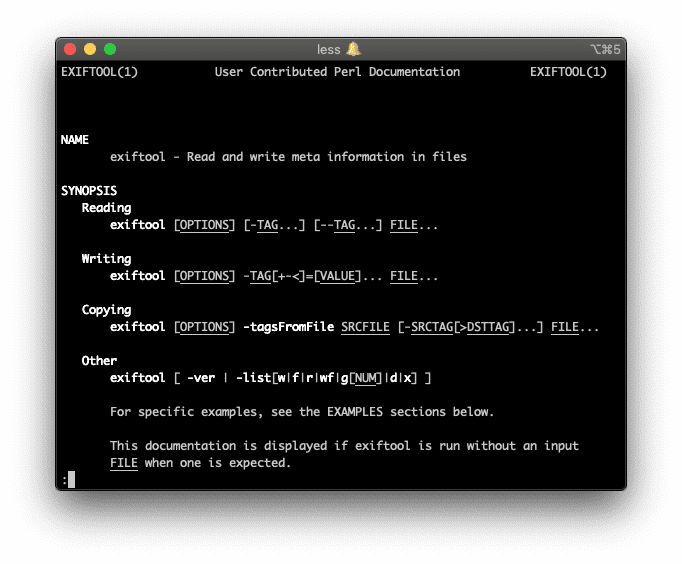
…and ExifTool
So, with Bash being the platform of choice — what’s the tool of choice for working with EXIF tags? Simple!
All you really need for EXIF tags is ExifTool.
It does what it says on the tin. It’s well established. Has been around for ages. Has a great community. And a very supportive author. What more do you want?
On a recent Mac, install it via Homebrew using
brew install exiftool
and verify that it has been installed via
$ exiftool -ver
11.11
Reading EXIF Data
With exiftool installed, it’s fairly easy to access and alter the EXIF data of a photo. While the command
exiftool <filename>
prints all available EXIF data of <filename>,
exiftool <filename> | grep GPS
limits them to just the GPS ones. So, for the photo above, I can verify that I didn’t say anything stupid when claiming “I know! University of Greenwich!” because when entering
exiftool university_of_greenwich.jpg | grep GPS
I see that (on my Mac — the EXIF tags in the uploaded photo have been stripped on purpose in preparation for publication; learn how)
GPS Version ID                  : 2.3.0.0
GPS Latitude Ref                : North
GPS Longitude Ref               : West
GPS Altitude Ref                : Above Sea Level
GPS Time Stamp                  : 15:32:09
GPS Speed Ref                   : knots
GPS Speed                       : 0.15
GPS Track Ref                   : True North
GPS Track                       : 315.81
GPS Date Stamp                  : 2016:11:13
GPS Altitude                    : 5.4 m Above Sea Level
GPS Date/Time                   : 2016:11:13 15:32:09Z
GPS Latitude                    : 51 deg 29' 1.76" N
GPS Longitude                   : 0 deg 0' 23.66" W
GPS Position                    : 51 deg 29' 1.76" N, 0 deg 0' 23.66" W
I have to admit that 51 deg 29' 1.76" N, 0 deg 0' 23.66" W doesn’t really naturally come to me as “Oh, yeah! University of Greenwich!” — I’d still use the human friendly method involving Preview described above — but you hopefully get the idea of the power of exiftool. Especially when combined with other single-purpose experts from the Bash toolbox like awk and sed. Inside in a Bash script. What else?!
Geotagging Photos at Scale
So, how to solve the problem of geotagging a pile of great photos when all you have is a bunch of GPS tracks? Simple!
The whole process can be fully automated as described in great detail in Geotagging with ExifTool. In essence, with GPS.log being a suitable GPS track and /path/to/photos being the (who could have thought of that?!) path to the photos, all it takes is
exiftool -geotag=GPS.log /path/to/photos
From here on, it’s all about sitting back, relaxing, and waiting for exitfool to finish. Grab a brew. Because depending on the input size, this may take a while. For 10,000 photos I’ve personally seen exiftool take upwards of 90 minutes to finish on a modern Mac. You really want to grab that brew.
Manual Overtag?!
But what happens when you don’t have a GPS track? When all you have are the photos in your hand but the locations in your head?
You can read all about that in the follow-up article Geotagging Photos with ExifTool.
Conclusion
Geotagging has really solved the “Now, Where was That Again…?!” problem for me when it comes to photos. The location of where a photo was taken is stored right inside the photo itself.
Human friendly access to location information is built into most photo viewer apps on moderns system. And when it comes to geotagging DSLR photos, Bash and ExifTool get the job done of determining the precise location of where each photo was taken by cross-referencing time stamps.
Think this is all rubbish and I should much rather follow the Leave No Trace movement instead — even for all things offline (I personally remove all EXIF tags before uploading any photos; learn how)?! Or that I’m using the totally wrong tools and should really be using
the-one-special-tool-that-really-does-it-all-and-is-also-clearly-better-than-everything-else?! Feel free to reach out to me on LinkedIn and teach me something new!
As always, prove me wrong and I’ll buy you a pint!
Subscribe to How Hard Can It Be?!
Get the latest posts by following us on LinkedIn and Twitter
